


In the previous post, we showed how drains were installed and we laid plastic sheeting as a vapor barrier. We hired the pouring of the floor out to a crew because working with fast setting concrete, leveling it smoothly and sloping it subtly towards each drain requires a very cohesive team of strong workers who know exactly what they're doing.

The whole floor was poured and spread in a day and the following day, after allowing it to set, one crew member came with a concrete saw to cut expansion cracks (Kitty is stepping directly over one, above). These cracks discourage the cement from cracking wherever it wants, whenever it wants.

To finish things out, Shawn replaced the staircase and built a workbench in the corner of the largest space and filled the smallest space with shelves. In case of the apocalypse, the shelves can double as bunk beds.


Now the roof:
The house (basically L-shaped) had part shingles and part metal. We decided to go with an all metal roof because of the longevity. The shingle part of the house still had good sheathing (the wooden boards) underneath with no rot. Shawn removed all the old shingles (two layers), laid new tar paper, then wood purlins (the 2 x 4s) to attached the metal panels to, and finally the 4' x 8' sheets of metal roofing. Not a job for a windy day... (Yes, he is tied on with his special harness.)

The shingle roof, therefore, could be down in sections as seen above. The metal roof, below, had to be completely removed then completely replaced. So we waited for a good, long, sunny weekend in May 2012:

Underneath the metal sheets, we found the original cedar shingles. Dry as kindling, they were just begging to be lit on fire.

Those came off fairly easily revealing the old wooden frame beneath. Where was I while Shawn was on the roof? We laid sheets of plastic on the ground below and Shawn just let everything fall down. I got clean-up duty carting all those old shingles, nails, etc. off the the burn pile or into various trash bins.

The bare boards weren't appropriate for keeping out weather or laying the roofing on, so Shawn placed new plywood and purlins on this roof. Meeting the the previously completed roof was tricky.


All in all, this portion of the roof was completed in just a few days.

(The front's done too, but I don't have a completed picture on hand. Sorry.)

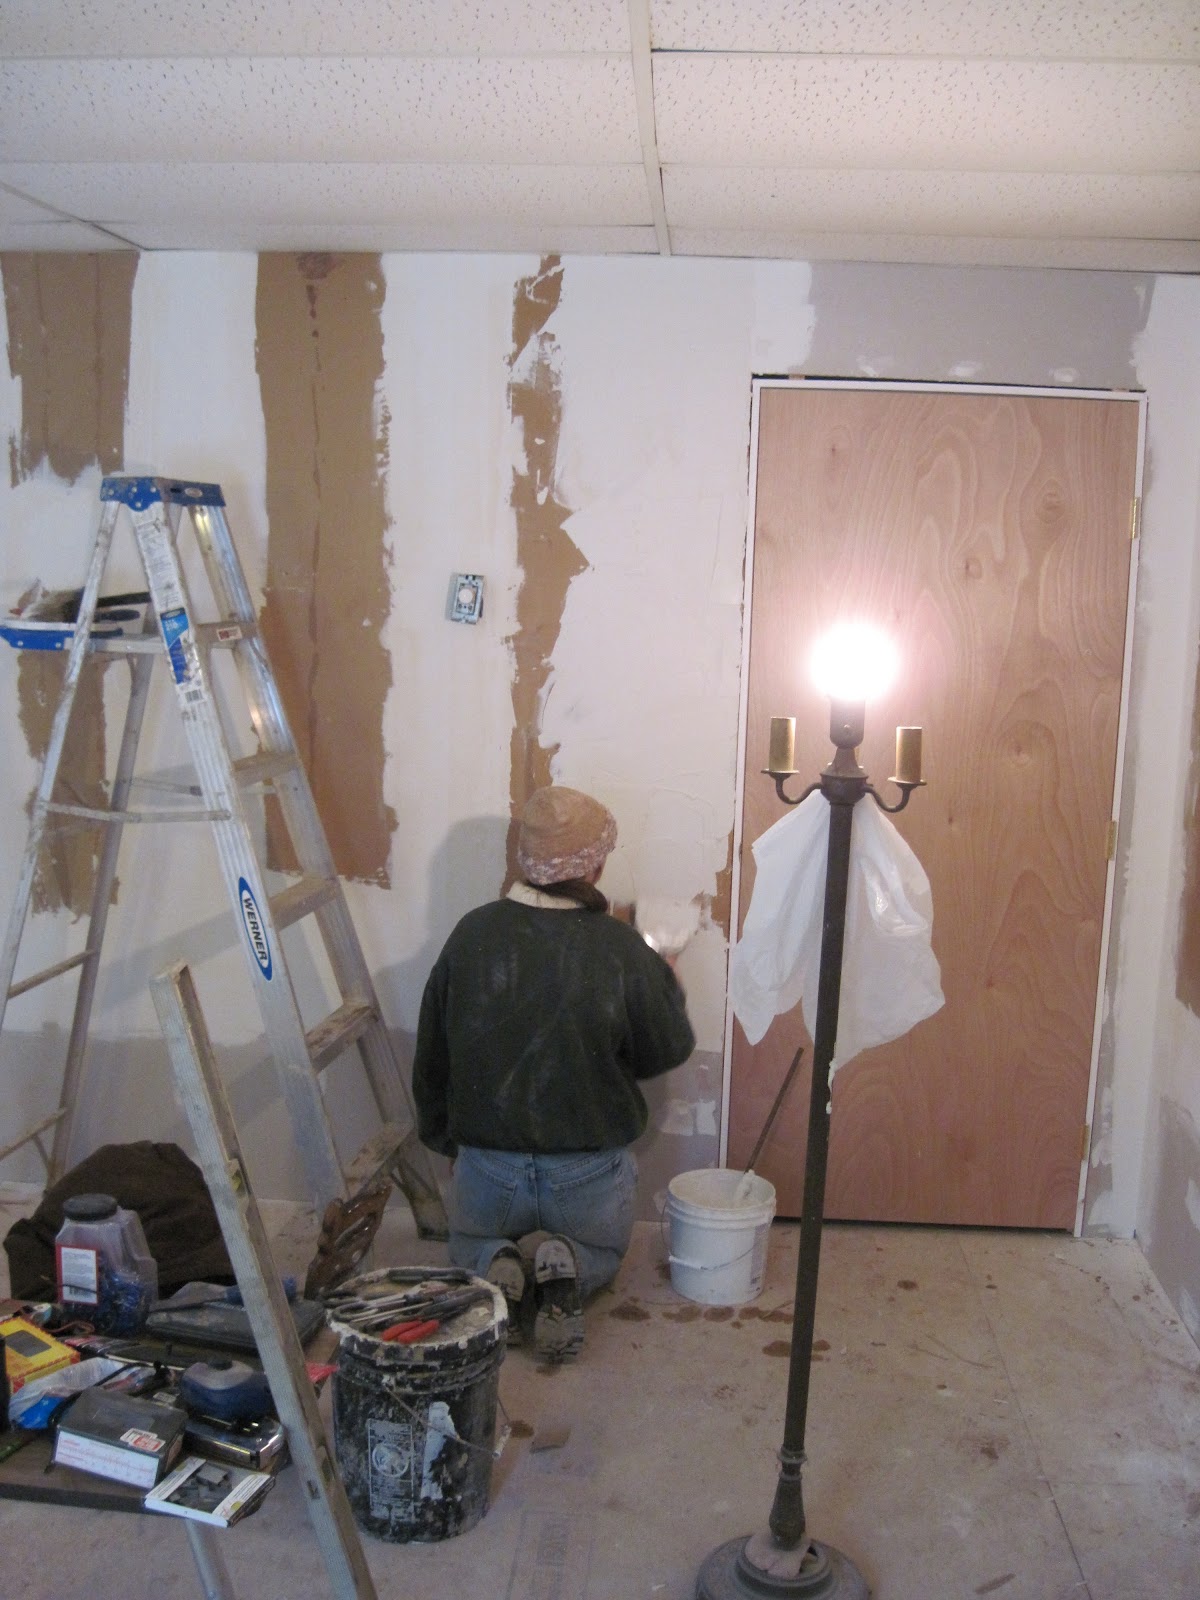
A number of small changes have occurred inside. I've painted a bit, replaced some lighting, refinished some furniture, and placed some "band-aids" here and there. I'll share a number of these small changes in an upcoming post. The next big project is siding. As seen above, the house is about 3/4s asbestos and 1/4 wood siding. We'll also be replacing windows, doors, and re-roofing the mini-porch in front and the one story laundry room in the back. Details to come...


 November 3, 2009 is sixteen days from today. By the end of it, Shawn and I will be homeowners. It's a heady notion. But not a frightening one. We can afford it, we'll get the
  I made a no-reason-cake last night and left the oven door open when I was done. No sense wasting heat that's already been paid for. Speaking of Laura Ingalls, I made the light bread from the 'Little House' cookbook last weekend and think I'll do it again. If you've ever wondered how people stayed warm in the olden days, lemme tell you...labour-intensive cooking is the way to go.
 You guys missed a great party on Saturday. We invited my mom over and we painted vile-smelling waterproofing over the new walls. Oh, it was a good time... you don't even know.

 Taking out the I-beams is a bit by bit process. First, the blocks the house is sitting on have to be dry enough to hold the house (naturally), the the I-beams come out one at a time and we fill the holes they came from with a few more blocks.


 Two (big) thirds of the footers are finished. In the above diagram, the yellow represents the first 'third' we poured and the purple is what we did last Wednesday. The thin red line shows where our new walls are, and Shawn's down there as I type building the walls up on the purple footers. The light blue footers will be our last, as well as the easiest with a simple U shape. The pour went better this time than last. At least the mixer didn't get stuck in the mud!! (Click
 I guess we were misguided by the heavy clay content of the soil this far down (about 8 feet below ground.) Most of our dirt is silty sandy stuff, but we found a few areas that had a good 3-4 inch deep layer of pinkish, purplish clay. Very pretty but a pain to dig.
 But dig it we must! Here Shawn's digging for rebar that he hammered horizontally into the dirt during the last pour. About 5 feet of the bars are in the previous footer and 5 feet are in the new one.
 The cement blocks are helping maintain the 24 inch width required as we set up the forms. Once the forms are nailed together and spreaders put on top, the blocks will be removed. Spreaders are just 2x4s long enough to bridge the gap and hold the forms the correct distance apart during the pour.
 For this pour, Shawn made two chutes that the truck's chute could easily move between. This helped get the concrete spread out as it came in, a.k.a. less work for us.

